Free Knitting Pattern: Everyday Colour Socks. Beginner-friendly with clear step-by-step instructions.
Share
If this is your first pair of socks, take a deep breath, you’re in the right place.
Sock knitting can look complicated, but it’s really just a series of small steps. This pattern is designed to guide you through each part clearly, so you can focus on enjoying the process rather than worrying about perfection.
Your first pair does not need to be perfect. It just needs to be finished.
Take your time, trust the process, and remember: after one sock, everything suddenly makes sense.
Choosing Sock Yarn
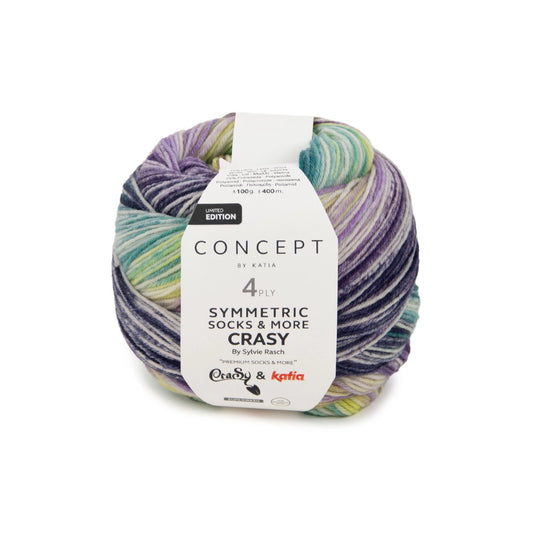
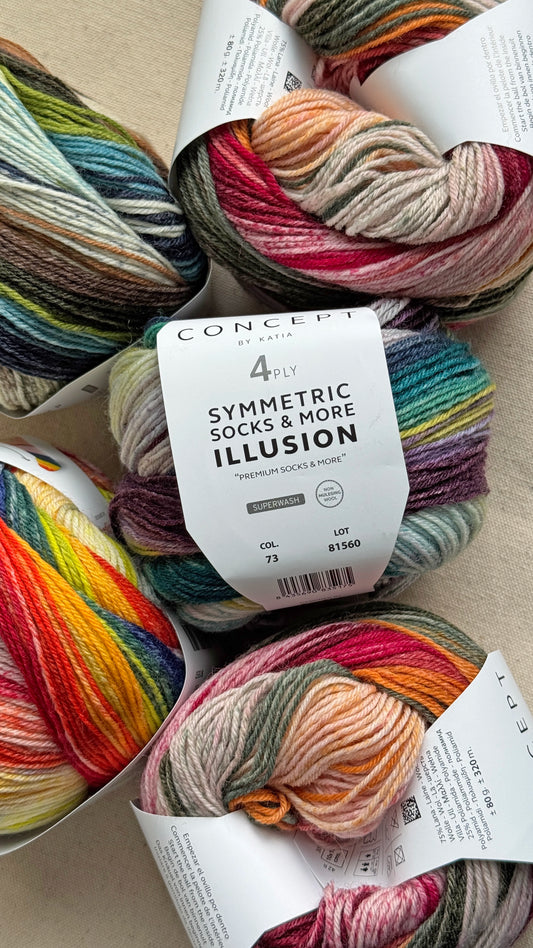
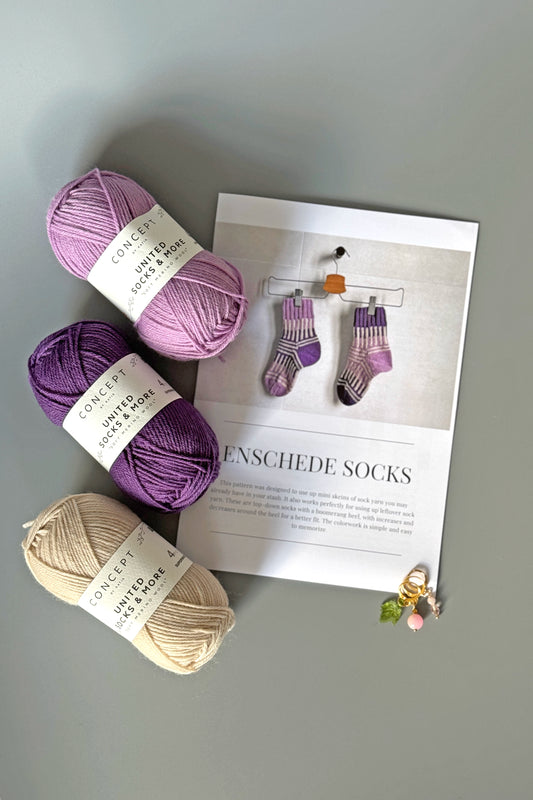
Choosing the right yarn makes a big difference in how your finished socks feel and wear. Here are a few simple guidelines.
Fibre content
Look for yarn that contains:
- 75–80% wool for warmth, elasticity, and comfort
- 20–25% nylon (polyamide) for durability
This blend helps your socks keep their shape and last longer, even with regular wear.
Yarn weight
This pattern is written for:
- Fingering weight / 4ply sock yarn
- approximately 400 m per 100 g
This is the most common sock yarn weight and creates a comfortable, everyday fabric.
Colour choices (the fun part)
This simple stockinette design is perfect for showing off colour. Try:
- Self-striping yarn for effortless colour changes
- Speckled yarn for playful texture
- Gradients for smooth colour transitions
- Solid colours for a classic look
If you’re unsure where to start, choose a yarn you love looking at. You’ll be spending a lot of time with it in your hands.
Avoid very dark yarns for your first pair if possible. Lighter or brighter colours make it easier to see your stitches and learn new techniques. This pattern was designed to work beautifully with colourful sock yarn, so don’t be afraid to pick something bright and fun.
Materials
- Yarn: Fingering weight sock yarn (~400 m / 100 g).
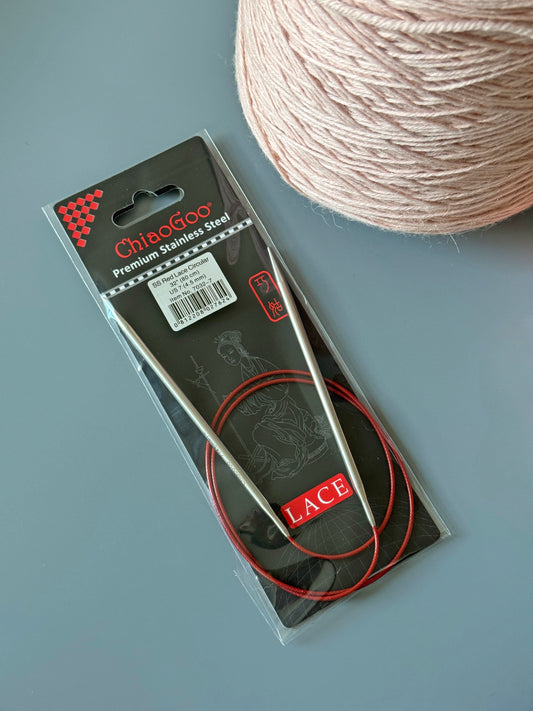
- Needles: 2.25 mm (US 1) long circular needles for Magic Loop, or double-pointed needles (DPNs).
- Notions: Scissors, tapestry needle, measuring tape, stitch markers.
Sizes
This pattern is written for four sizes, based on stitch count:
- 60 stitches
- 64 stitches
- 68 stitches
- 72 stitches
If you do not know how many stitches to pick up, read this: How Many Stitches to Cast On for Socks (So They Actually Fit)
Gauge
8 stitches and 9 rounds per 2 cm (= approximately 32 sts and 36 rounds per 10 cm / 4 in)
Abbreviations
- k – knit
- p – purl
- sl – slip
- PM – place marker
- SM – slip marker
- k2tog – knit two together (right-leaning decrease)
- ssk – slip, slip, knit (left-leaning decrease)
- p2tog – purl two together
- Sl1 wyib - slip one with yarn in back
- Sl1 wyif - slip one with yarn in front
- m1R – make one right
- m1L – make one left
- RS – right side
- WS – wrong side
- ** – repeat instructions between asterisks as directed
Pattern Instructions
Cuff
Cast on 60 (64), 68, (72) stitches using the long-tail cast-on method.
Distribute stitches evenly across your needles and join to work in the round, being careful not to twist. Place a marker for the beginning of the round.
Work in 2×2 ribbing (k2, p2) for 20 rounds or until the cuff reaches your desired length.
Suggested length: 3–5 cm (1–2 inches). If you prefer a longer cuff, continue ribbing for a few extra rounds.
Leg
Round 1: Knit all stitches.
Repeat Round 1 until the leg measures approximately 10 cm (4 inches) from the cast-on edge, or desired length.
Tip: Write down how many rounds you knit for the leg so you can match the second sock. You can also place a progress keeper in the last round to help count later.
Heel Flap
Heel is worked over half of the stitches: 30 (32), 34, (36) stitches
Row 1 (RS): *Sl1, k1* repeat across heel stitches.
Row 2 (WS): Sl1 with yarn in front, purl to end.
Row 3 (RS): *Sl1, k1* repeat to end.
Row 4 (WS): Repeat Row 2.
Repeat Rows 3–4 until the heel flap measures approximately 5 cm (2 inches).
Note: For a higher instep, work the heel flap longer (about 6 cm).
Tip: Write down the number of heel flap rows so both socks match.
Heel Turn
Row 1 (RS): Sl1 wyib, k19 (20, 21, 23), ssk, turn.
Row 2 (WS): Sl1 wyif, p8 (8, 8, 10), p2tog, turn.
You will notice small gaps forming on each side of the heel. These are normal and help guide your decreases.
Row 3 (RS): Sl1 wyib, knit until 1 stitch before the gap, ssk, turn.
Row 4 (WS): Sl1 wyif, purl until 1 stitch before the gap, p2tog, turn.
Repeat Rows 3–4 until there are no more sts to work on the sides of the heel flap.
When working the final decreases at the edges, omit the last k1 or p1 and turn immediately after the decrease.
10 (10), 10, (12) stitches remain on the heel.
Gusset Setup & Decreases
The gusset adds extra room for the heel and allows the sock to fit comfortably over the instep. Take your time here. This section may feel new, but it quickly becomes intuitive.
Next, you will pick up stitches along the heel flap and return to knitting in the round. The instep stitches are the top of the foot and are worked plain in stockinette throughout the gusset.
- Knit across heel stitches.
- Pick up and knit 1 stitch in each slipped edge stitch along the heel flap.
- Pick up 1 extra stitch in the gap between the heel and instep to prevent holes. PM for the side.
- Knit across held instep stitches. PM for side.
- Pick up 1 stitch in the gap, then pick up and knit stitches along the second side of the heel flap.
Optional: Pick up extra stitches if needed to avoid holes and decrease them on the next round.
Tip: Write down how many stitches you picked up so your second sock matches.
Knit 9 (10), 10, (11) heel stitches (half of heel stitches). This becomes the new beginning of the round. Place beginning-of-round marker.
Round 1: Knit to last 2 stitches before marker, k2tog, SM, knit across instep, SM, ssk, knit to end.
Round 2: Knit all stitches.
Repeat Rounds 1–2 until original stitch count remains: 60 (64), 68, (72) stitches.
Foot
Knit all stitches every round until the foot measures approximately 4–5 cm shorter than the desired total foot length. Try the sock on if possible. If you prefer a longer or more tapered toe, begin decreases earlier.
Toe
Establishing Round: Knit 15 (16), 17, (18) sts, PM, knit 30 (32), 34, (36) sts, PM, knit 15 (16), 17, (18) sts.
Round 1: Knit to 3 sts before the first marker, k2tog, k1, SM, k1, ssk. Knit to 3 sts before the next marker, k2tog, k1, SM, k1, ssk. Knit to the end of the round.
Round 2: Knit all stitches.
Repeat Rounds 1–2 until 32 stitches remain.
Then, continue working Round 1 only (decrease every round) until 16 stitches remain.
Graft the toe closed using the Kitchener Stitch.
Finishing
Weave in all ends, block lightly, and enjoy your beautifully crafted ribbed socks!
Share Your Socks
I’d love to see your socks come to life! Share your finished pair on social media and tag @ColourPopCrafts so I can cheer you on and see your beautiful colour choices.
If you get stuck or have questions while knitting, leave a comment. You’re not knitting alone.